Google has added annotation tools to Slides to help create clearer presentations.
In another one of those happy instances, sometimes when we do a demo or a training session at a school, we actually learn something new that we can share with other users. It recently came to our attention during a session at a school that there are now annotation tools in Google Slides Slideshow mode. The tools were recently added by Google to allow those who use slides for presentations to be able to mark up their slides as they’re presenting in a manner similar to what Microsoft PowerPoint allows. Every Google Slides user has access to the annotation tools as it has been rolled out across the board so there is nothing you should need to do to have that available to you.
How to access the annotation tools
When using Slides, to access the annotation tools all you need to do then is first open your slide as a Slideshow to begin the presentation.
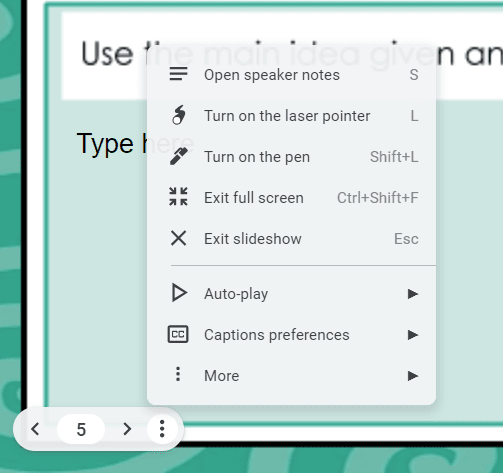
Once you have done that, move your cursor to the bottom left of the slide in and you will have access to tool bar whereby clicking the three dot icon lets you access a pen, a highlighter or the laser pointer tool as well as various options to save and export the slides.

When on the slide and annotating, you can move between slides where those annotations will stay in place where you had written them. This very handy for jumping between slides and going back to ideas you may have captured when discussing that slide.
Another great feature added is the ability to caption a presentation for those with hearing difficulties as it will caption the slide as you are speaking as long as you speak clearly, with a reasonable pace and in a relatively quiet area or close miking.
Using an interactive touch screen means that you can do all of this from in front of the room next to the screen without having to use a mouse and keyboard and it makes the presentation more of a discussion that is a lot more open than hiding behind other hardware. Further because it is an interactive touch screen you can use gesture controls to move backwards and forwards in the slides to make the presentation feel more natural.
While this presentation tool is very handy for allowing the presenter to mark up a presentation, unfortunately it seems that the markups are not able to be saved in a manner that can be shared easily amongst participants. We have tried various methods of saving the presentation from within the annotation tools such as a PowerPoint, an image file or to print as a PDF file, and none of these methods save the annotations. There is no word from Google as to whether this will be possible and we will continue looking for ways to get around this.
Another Way
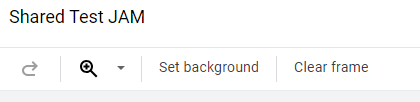
One way we have found is once your presentation has been created in slides export each slide as a PNG image and use jam board that has far better sharing and collaboration tools to import each slide as a background. This means multiple users can have the Jamboard shared with them and see the annotations as they are being discussed as well as being able to interact separately from the presented themselves.
The tools included in Jamboard are also more comprehensive allowing for a greater pen and highlighter colour selection and is far easier to share and collaborate as it then just becomes similar to a Doc or a Sheet.
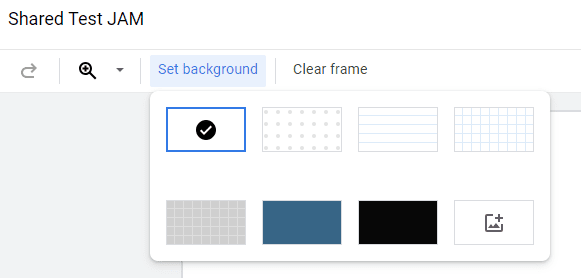
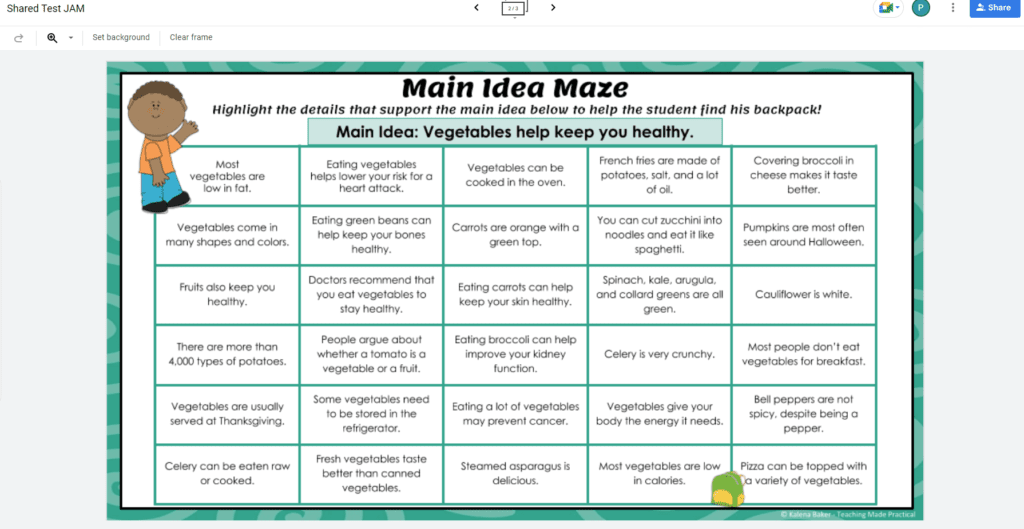
Although it is a bit of a pain to prepare it is no different really to preparing the slide and then printing it out. All you’re doing different is saving each individual image and importing them as a background on each individual jam board page. This is good in that you can mark up across the top of the slide clear the page if you don’t want the annotations or just leave it as is and everybody will have access to those. Keep an eye out for a desktop tutorial video on our Learning With HDi channel on YouTube to guide you through this in more detail.
Let us know your thoughts in the comments below, or better yet, if you have another way to do this to share with the world.